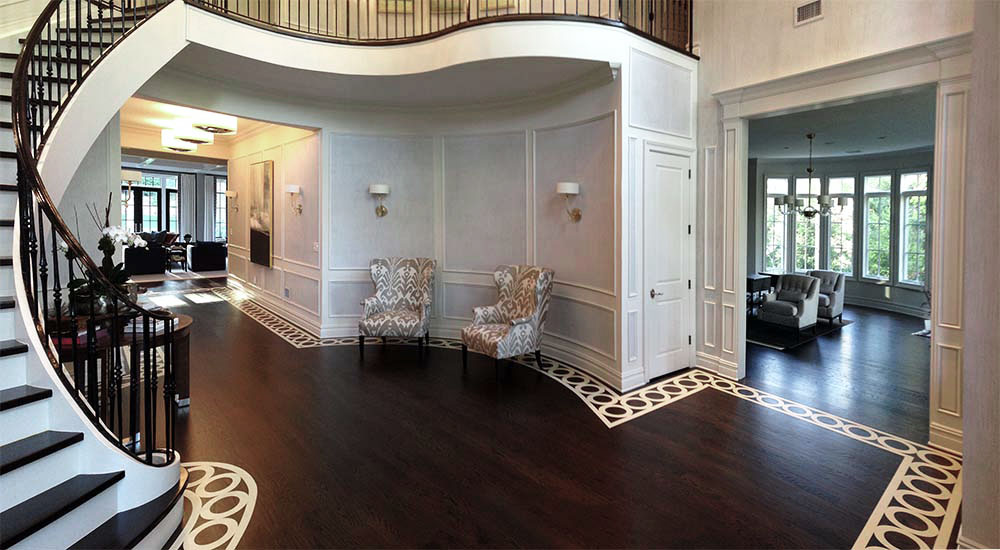
Venetian plaster covers the whole range of decorative. plaster finishes from the very highly polished Venetian plaster Marmorino to the rugged look of textured polished plasters. When Venetian plaster applied perfectly, can be used to create a highly polished. Rock-hard, marble-like finish. Venetian plasters can be used on the surfaces where the marbles slab couldn’t be installed easily. It is made up of fired limestone and water, that creates the lime plaster. And when it applies to the wall, comes in contact with the carbon dioxide and turns to rock-solid limestone again.
Professional experts always do their best in every field but sometimes people try to do the things by their own self. And in order not to make mistakes we will provide you with some tutorials on how to apply Venetian plaster in your house.
Venetian Plaster Finishes Techniques
- Know about the Venetian Plaster
Ancient stuccoed coating in modern words describes the Venetian plaster coating. It is well achieved through the tools used by the skilled craftsmanship. Modern tools and techniques allow you to create the same result by yourself. New products nowadays contain acrylic polymers which are more durable and leaves long-lasting surfaces.
- Tools to be used
An experienced worker has all the tools and materials which are to be used in the procedure. But we will provide you with the list of tools and materials at the minimum quantity which needs to be used.
- 300-600 grit sandpaper
- Venetian plaster
- Steel or hard plastic trowel
Apart from the above mentioned basic requirements, you will be in need of some other tools:
- Eye goggles
- Brush
- Primer
- Roller
- Gloves
- Universal colourant
- Paint tray
- Drop cloth
- Have a little experience with Venetian plaster
Some people remain in a disillusionment that they know painting and can do Venetian plaster. For the kind information. It’s totally different as in binary opposite. Just to avoid any miscalculation buy a couple of sheets of drywall and spent practising with the material to gain confidence and some good skills. Start creating new texture by yourself.
- Formulate the room
Try to formulate the room as much as possible to make it spacious. Then spread the large piece of drop cloth on the ground floor which would stop plaster to touch the ground. If you find any types of crack or hole in the wall, fill it with filling or sand. Any type of grease can be removed with the help of sandpaper.
Try to wear gloves and eyeglasses because the plaster can cause skin itching while the odour or the particles may enter into your eyes cause loss of eyesight. Last but not the least mix Venetian plaster thoroughly before every utilization.
- Apply the first coat
Nowadays tint has already been added to the Venetian plaster which directly can be used. Preferably starts from the corner of the room if you are the beginner at it. Apply the plaster by using the trowel. And try to spread the plaster at varying area and angles at each stroke.
- Second coat to be applied
While applying the second coat to the wall, the same colour of Venetian plaster shall be used. Hold the trowel at the angle which would help you to move the trowel in overlapping process. Always apply a thin layer of plaster while the second coating. To be precise, if there is any void or spot clean it by using plaster after filling. Leave the whole plaster at least for a whole day before giving the final touch.
- Final touchstone
Final processing of the Venetian plaster method is to brush the surface and applying a topcoat. If your room reserves a high quantity of moisture then the top coat is highly recommendable, which would add the durability to the surface. In order to burnish, one can use a fine sandpaper using it in the circular motion. When topcoat is applied it looks quite darken in colour, can be removed on burnishing the surface again.
There are several huge benefits of Venetian plasters, which would be the biggest reason that compels it to use in your house
- It can be clean easily
- It contains no toxins or gases.

