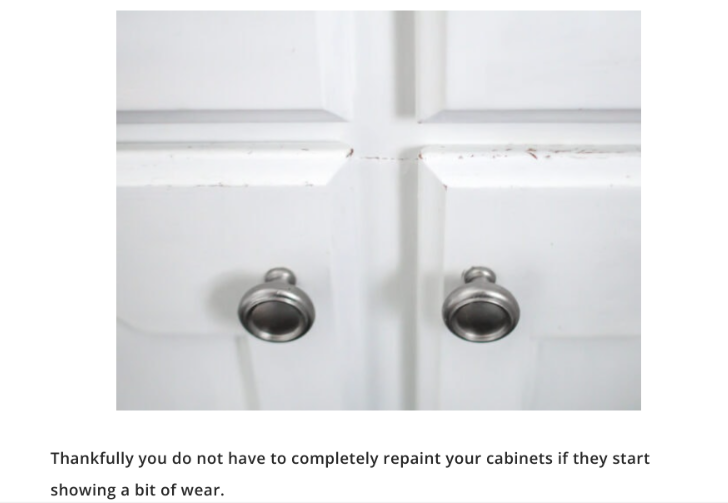
Touching up painted cabinets is a great way to refresh their look and extend their lifespan. Here’s a general guide to get you started:
Gather your supplies:
- Touch-up paint: Ideally, you’ll have leftover paint from the original cabinet painting project. If not, you can try to find a matching color or use a multi-surface touch-up paint. Here are some examples of available products:
- Spates Original Multi-Surface Cabinet – Trim – Door Paint Touch Up
Colors: Swiss Coffee or White Color
Swiss Coffee cabinet touch up paint 
White cabinet touch up paint
Spates Original Cabinet Touch Up-Paint Color Kit.
Larger Jobs – Cleaner, sandpaper, brush and touch up paint
- Paint brush: A small, fine-tipped brush is ideal for precise application.
- Sandpaper (optional): If you’re dealing with chipped or scratched paint, you’ll need sandpaper to smooth out the area before touching up.
- Putty (optional): For larger chips or gouges, you can use a small amount of putty to fill in the gap before painting.
- Rag or tack cloth: This will help you clean the cabinet surface before painting.
Prepare the surface:
- Clean the area: Wipe down the area around the damage with a damp rag or tack cloth to remove any dirt, dust, or grease.
- Fix chips and gouges (optional): If you have any chipped or gouged paint, use a small amount of putty to fill in the gaps. Let the putty dry completely according to the manufacturer’s instructions, then sand it smooth with fine-grit sandpaper.
Apply the touch-up paint:
- Shake or stir the paint: Ensure the touch-up paint is mixed well.
- Dab the paint: Use a gentle dabbing motion with your brush to apply the paint to the damaged area. Don’t brush back and forth, as this can make the touch-up more noticeable.
- Apply multiple thin coats: It’s better to apply several thin coats of paint than one thick coat. This will help the paint adhere better and prevent drips.
- Allow drying time: Let each coat of paint dry completely before applying the next.
Tips:
- Apply painter’s tape around the damaged area if you’re concerned about getting paint on the surrounding cabinet surface.
- If you’re unsure about the exact paint color, test the touch-up paint in an inconspicuous area first, such as the inside of a cabinet door.
- For best results, use a light touch and take your time. It’s always easier to add more paint than to remove excess paint.


